

MY NEEDLEPOINT CLUTCH ADVENTURE

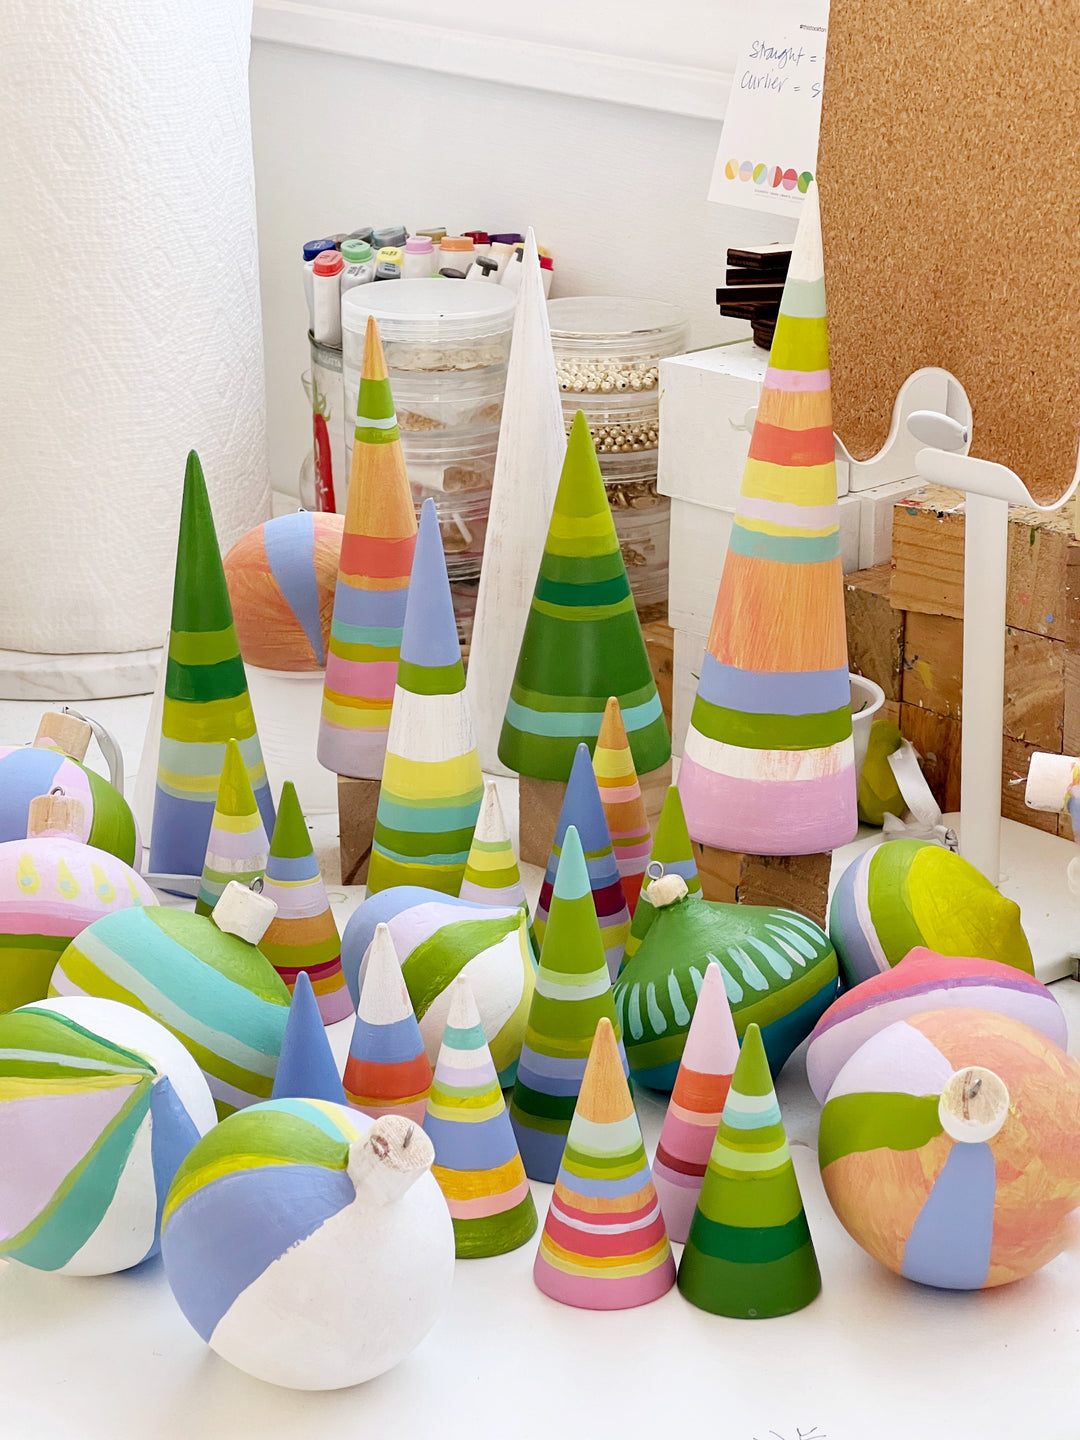
before I painted, stitched, and sent my bag strap off to the finisher I already knew what I wanted to try next - a tri-fold clutch. I had seen one by anne fisher needlepoint on Instagram and wanted to make something based on the business postcards of my hand-painted beads. I made a puzzle using that image and knew it would translate well.

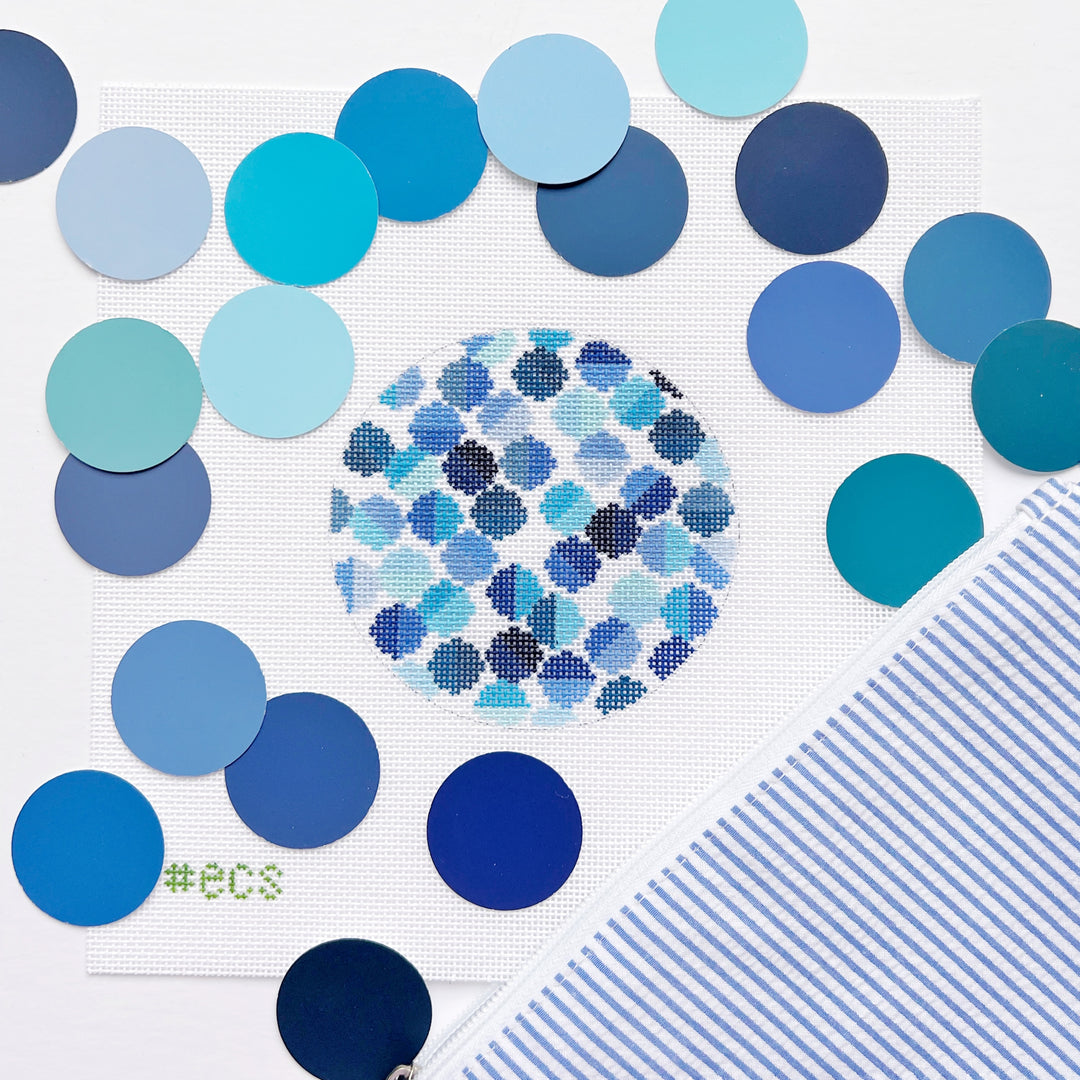
I did some quick clutch size research and decided to make mine 10” x 18” for a finished bag size of 10” wide x 6” high. and I now know a circle isn’t a circle unless you count it out and stitch paint but we were quaranting and I had limited supplies so I just winged it. I mapped out the placement by tracing my beads and outlining them in different colors to figure out the color scheme before committing. I painted the color patterns but when it came to stitching, I just winged it and had to make things as circular as I could. it’s CRAZY looking because there isn’t a single circle on the entire piece but I don’t care - it’ll always remind me of the start of my needlepoint ‘journey’.
 these are more like octagons. 😂

lessons learned:
- I used an app on my ipad called stitchsketch and learned to count out the circle stitches to make them as ‘round’ as possible.
- I have a painted clutch canvas that I use now as my pattern/template so I’m not reinventing the wheel every time I paint one. it saves me so much time from overthinking and ‘designing’ as I go.
- I now have two size circles I use - the bigger size is used for most canvases I paint now (and 1.5”) and the smaller size on the little canvases. I LOVE how many colors are possible on this original but the small size is just too labor-intensive on such a big canvas.
- the finished canvas/clutch is the same size but you can see the difference in circle size below.
- I wished I sorted out my initials before I started because that’s not where I would’ve put it.


Hi,
I’m crazy about your needlepoint canvases. I stitched the eyeglass cover and love it. Do you have a recommendation of a finisher I could send it to to be completed?
Thank you,
Moira
I am about to finish one of your beautiful trifold lulu’s. Do you have any instructions available? I can’t figure the sequence for finishing as pictured. Is the pink cording in the seam of the clutch or just around the flap? Any guidance much appreciated, kathryn wilson, shreveport louisiana
Leave a comment